Adding a Funding Source
A funding source is your business bank account.
You can have more than one funding source to push funds to or pull funds from. You can settle transactions directly to your funding source, or settle them in the Zūm wallet and direct them to the funding source in one bulk transaction.
Adding a funding source is the first step you need to complete when logging in for the first time. For production accounts, this is also required as part of the underwriting process.
If you are adding a funding source specifically for a production account, it must be a business account.
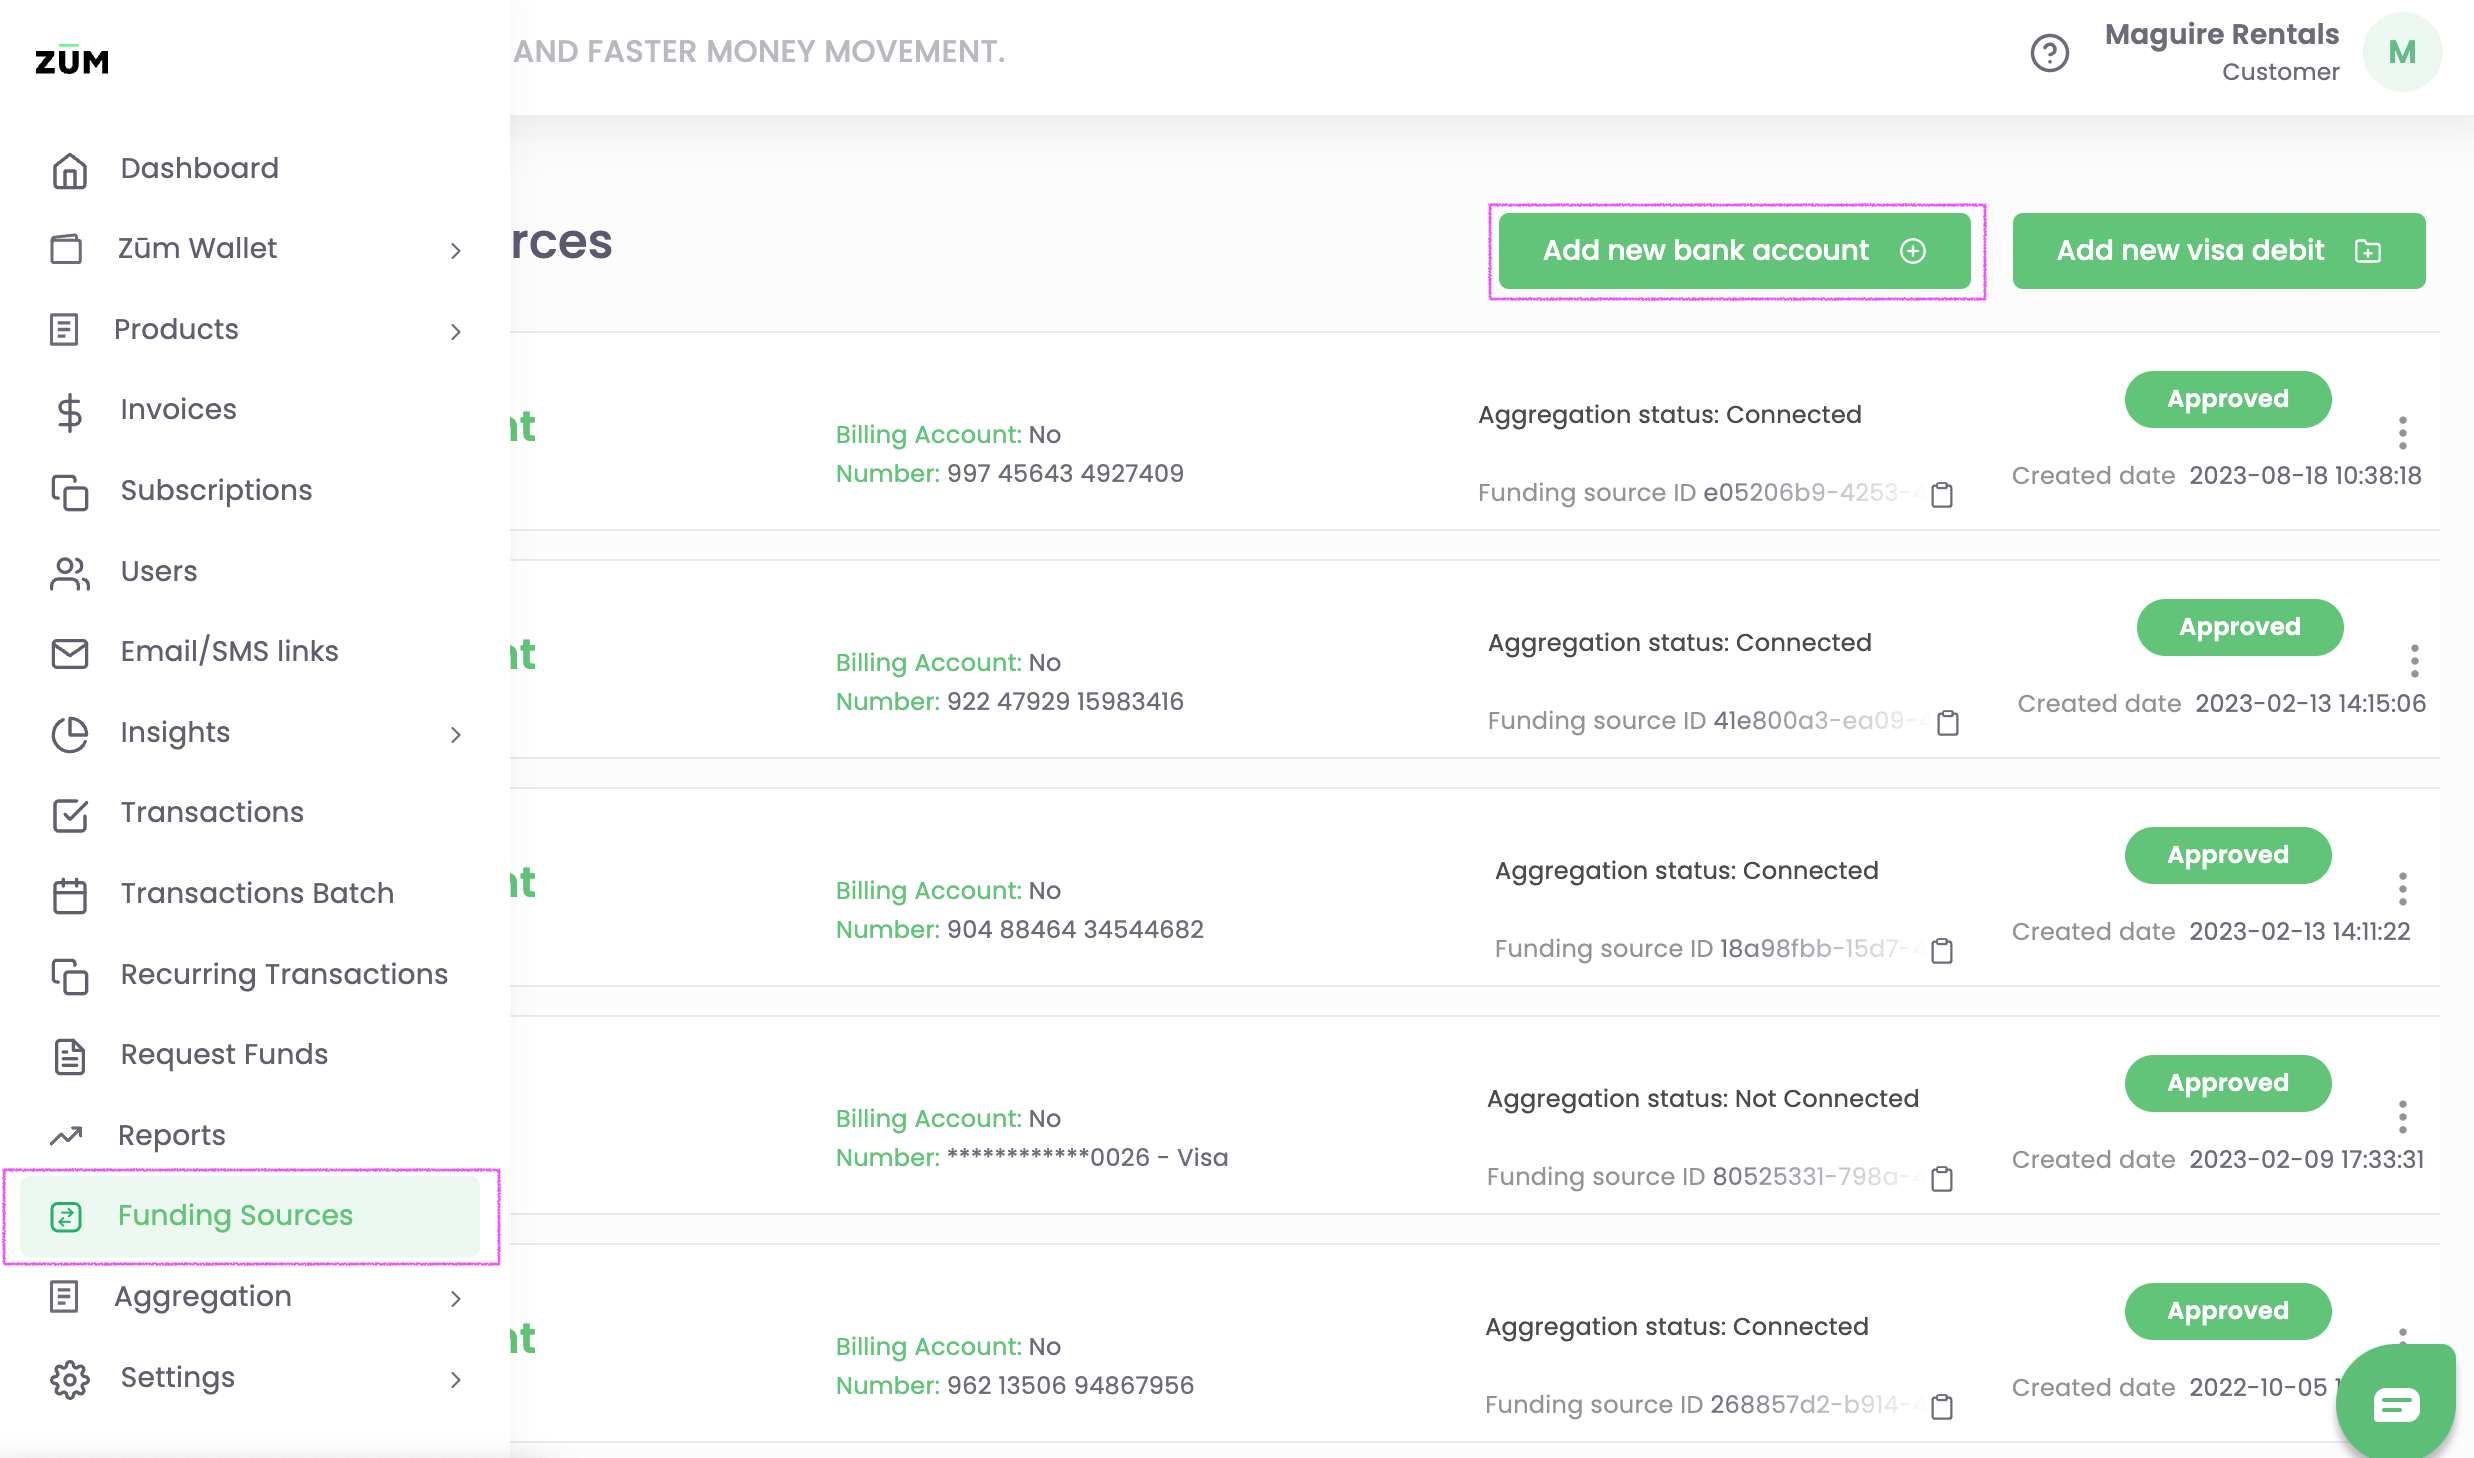
1. Click on Funding Source > Add new bank account
2. Select your account type and complete all fields.
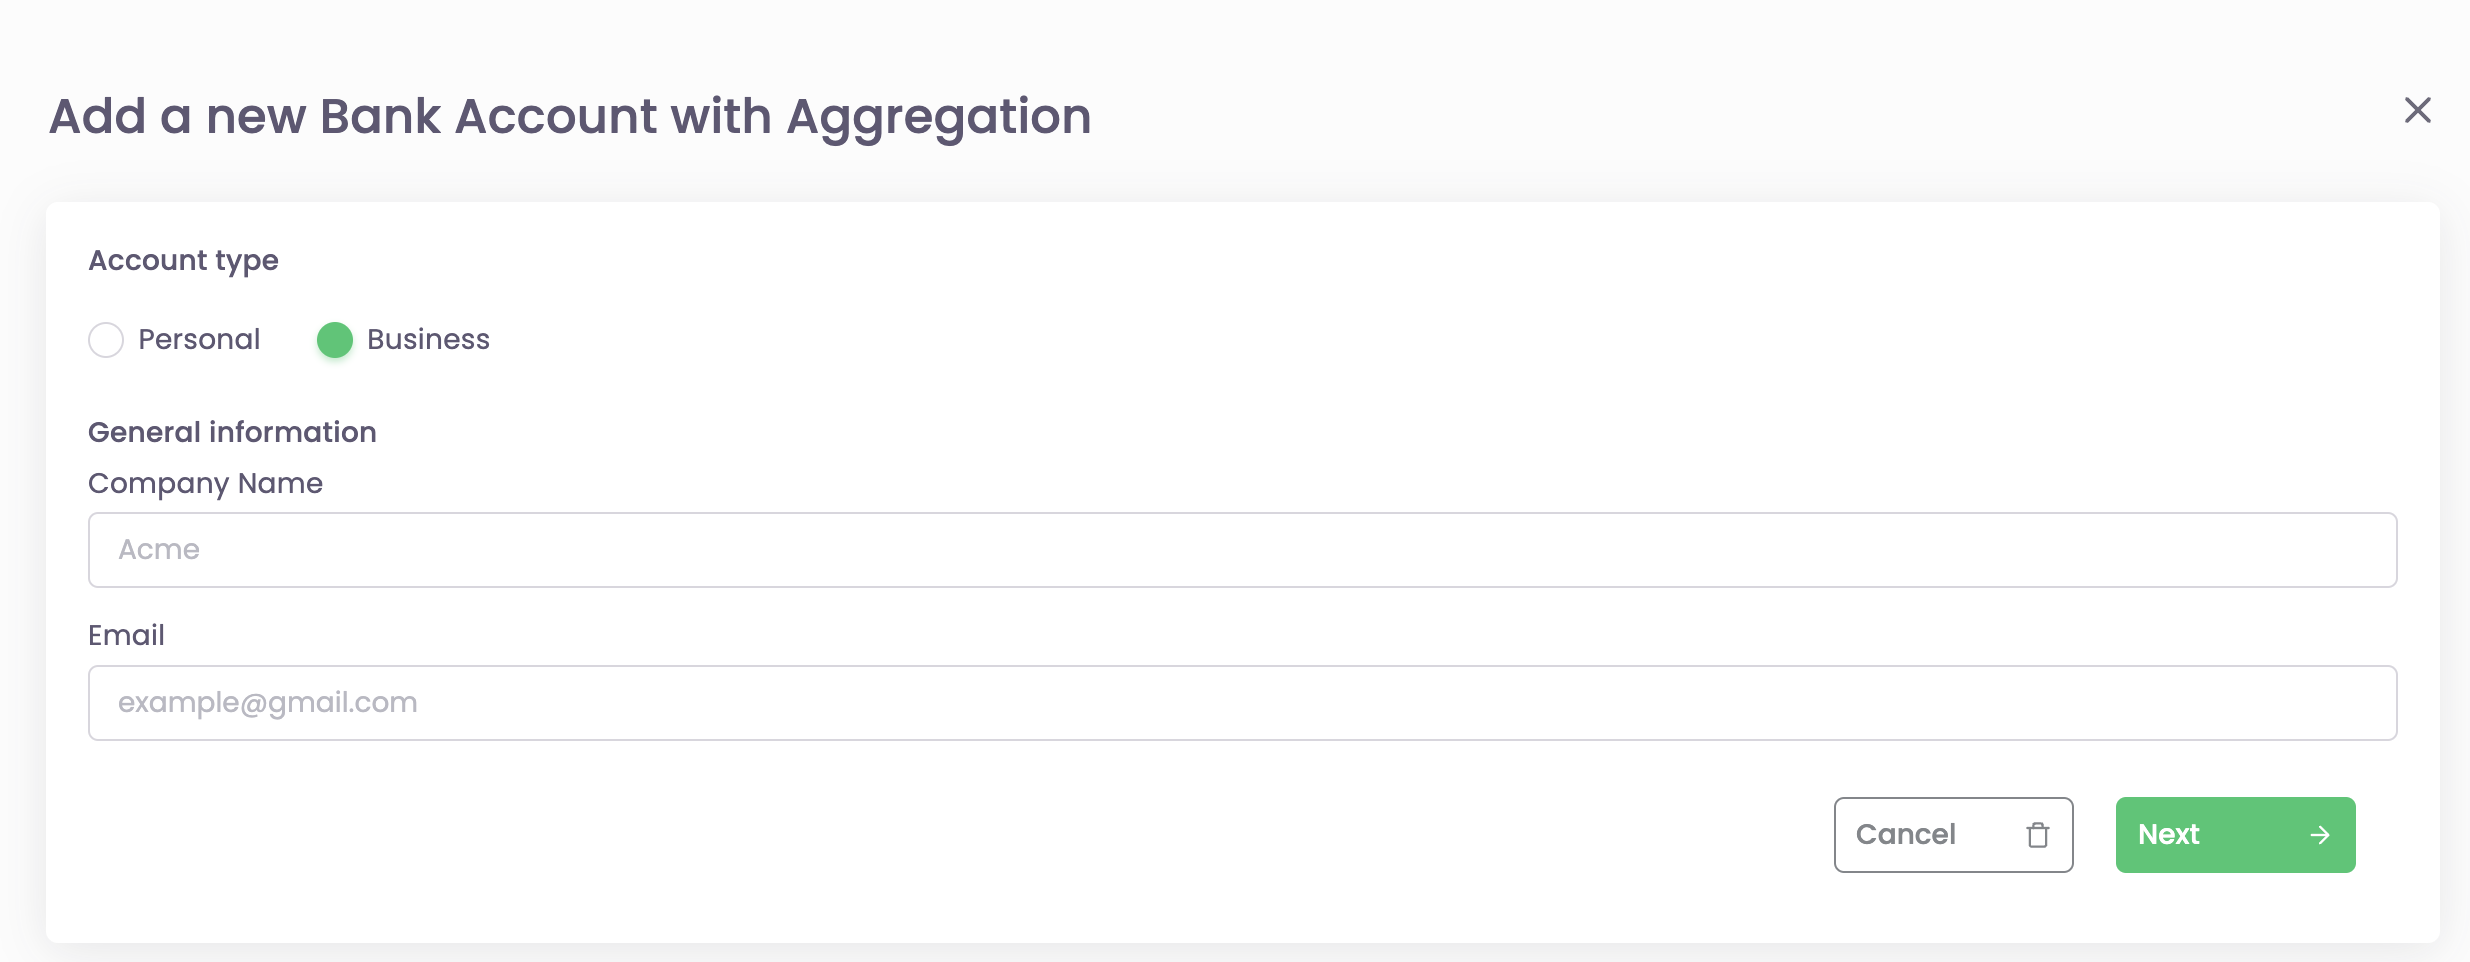
3. Click on Next
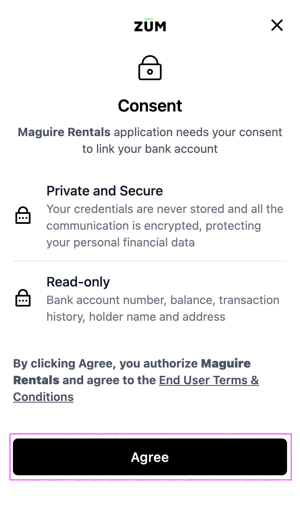
4. Click on Agree after reading the consent section
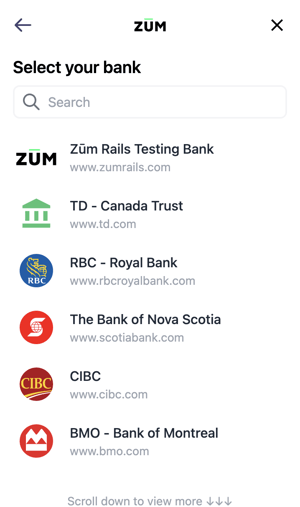
5. Select your banking institution
6. Enter your banking credentials. By completing this step, you allow Zūm Rails to connect to your selected bank account and retrieve your financial data.
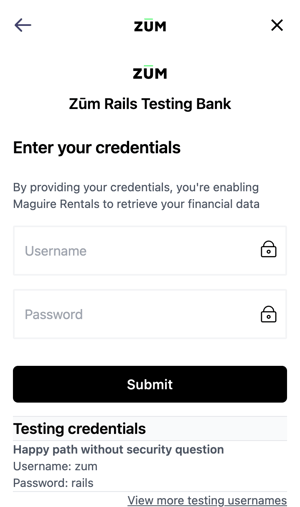
All available accounts will appear once the user has entered their credentials. Note that no credentials are ever stored when entered.
- The user must select if they want to connect a savings or chequing account and select continue
- The user is redirected. Collecting their banking information occurs in the background and can take up to 3 minutes.
If you are connecting through a sandbox and are using the Zūm Rails Test Bank, the credentials are listed at the bottom of the page under the submit button.
---
I can't connect my funding source
If you cannot connect your funding source through the aggregation process please complete the following steps.
- Take a screenshot of the error message
- Email support@zumrails.com and include the screenshot and the financial institution you are attempting to connect
- Upload the following documents through your portal:
- A void cheque
- 2 months of your most recent transaction history
If you are not sure how to upload documents in your portal you can follow the steps in the article Adding Documents to the Portal.